Salesforce with Access for SaaS configuration
🗺️ This tutorial covers how to:
- Configure Salesforce as a SaaS application in Cloudflare Zero Trust
- Force logins to Salesforce through Cloudflare’s Zero Trust rules
⏲️ Time to complete:
15 minutes
Before you start
- You’ll need admin access to a Salesforce account
Set up Salesforce as a SaaS application in Cloudflare Zero Trust
- On the Zero Trust dashboard, navigate to Access > Applications.
- Select the SaaS application type.
- Next, select Salesforce from the Application drop-down menu.
- Fill the remaining fields as follows:
- Entity ID: https://[YOUR_SFDC_DOMAIN].my.salesforce.com
- Assertion consumer service URL: https://[YOUR_SFDC_DOMAIN].my.salesforce.com
- Name ID format: Email
- Click Next.
- Set the desired policy configuration for user access.
- Click Add application.
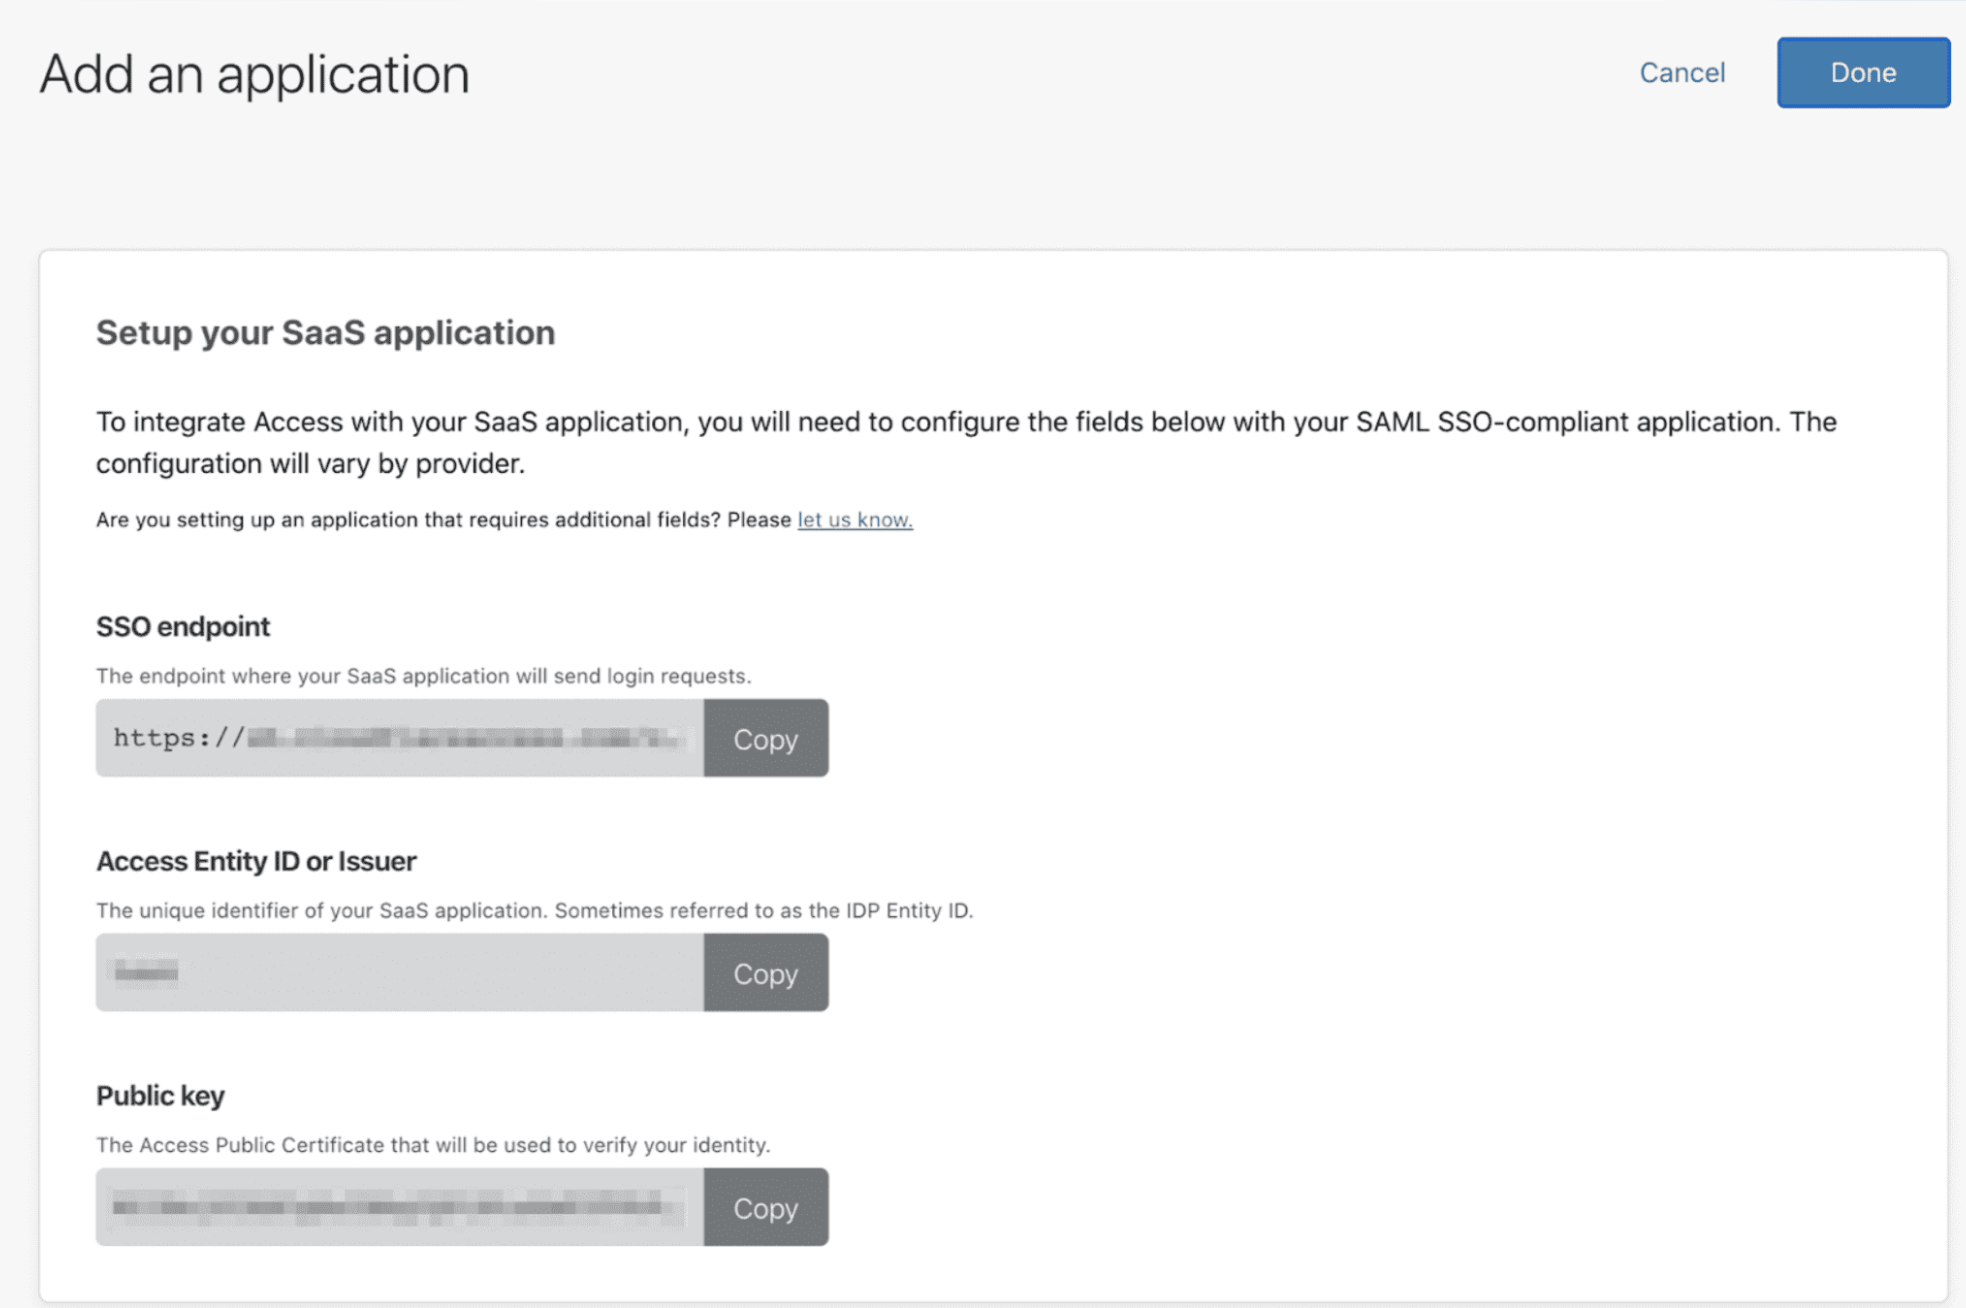
- Next, take note of the SSO endpoint, the Access Entity ID or Issuer, and the Public Key.

Create a certificate file
- Paste the Public key in VIM or another code editor.
- Wrap the certificate in
-----BEGIN CERTIFICATE-----and-----END CERTIFICATE-----. - Set the file extension as
.crtand save.
Enable Single Sign-On in Salesforce
- In Salesforce, ensure your users have Federation IDs.
- Navigate to Security Controls > Single Sign-On Settings.
- Set the following global settings:
- SAML Enabled: true
- Make federation ID case-insensitive: true
Create a new SAML Single-Sign On configuration
- Create a new SAML Single-Sign On configuration Configure as follows:
- Name: (this is what you want your users to see on sign in)
- API name: (this will pre-populate)
- Issuer:
https://<your-team-name>.cloudflareaccess.com, where your-team-name is your team name . - Identity Provider Certificate: upload the
.crtcertificate file you’ve created in the previous step. - EntityID:
https://[YOUR_SFDC_DOMAIN].my.salesforce.com - SAML Identity type: Assertion contains the Federation ID from the User object
- Identity Provider Login URL: This is the SSO endpoint provided in the Zero Trust dashboard for that application.
- Click Save.
- From the navigation panel on the left, click Domain Management > My Domain and select your domain.
- At the bottom, find Authentication Configuration. Click Edit and select your Authentication Service you created.
- (Optional) To force all users to sign in through Cloudflare Access:
- Click Security Controls > Single Sign-On Settings > Edit.
- Click
Disable login with Salesforce credentials.